
Delicious, nutritious, and 100% free of gluten, dairy, and soy.
Why Go Allergy-Free?
If you’re exploring gluten-free, dairy-free, and soy-free recipes, you’re probably doing it for a reason — maybe your child’s eczema flared up again, or your digestion just never seems quite right after lunch. Whatever your reason, you’re not alone. Millions are turning to allergen-free meals as part of clean eating and anti-inflammatory living.
Here’s why it matters:
- Gluten can irritate the gut, especially for those with celiac disease or non-celiac gluten sensitivity.
- Dairy is a common trigger for skin issues, bloating, and mucus buildup.
- Soy—while a healthy option for some—can be a hormonal disruptor and is often genetically modified.
Eating clean doesn’t mean eating bland. These treats are proof that “free-from” doesn’t mean “fun-free.”
Each of these recipes is free from gluten, dairy, and soy—and designed with real families in mind.
1. No-Bake Chocolate Oat Bars
Yields: Approximately 12 bars
Prep time: 15 minutes
Chill time: 30 minutes
Ingredients:
- 3 cups gluten-free rolled oats
- 1 cup coconut oil, melted
- 1 cup maple syrup
- 1/2 cup unsweetened cocoa powder
- 1/2 cup sunflower seed butter
- 1 teaspoon vanilla extract
- Pinch of salt
Instructions:
- Line an 8×8 inch baking pan with parchment paper, leaving an overhang on two sides.
- In a large bowl, combine the gluten-free oats, cocoa powder, and salt.
- In a separate bowl, whisk together the melted coconut oil, maple syrup, sunflower seed butter, and vanilla extract until smooth.
- Pour the wet ingredients over the dry ingredients and stir until everything is well combined.
- Press the mixture evenly into the prepared baking pan.
- Chill in the refrigerator for at least 30 minutes, or until firm.
- Once firm, use the parchment paper overhang to lift the bars out of the pan.
- Cut into 12 equal-sized bars.
Storage: Store in the fridge in a sealed container for up to a week. Can also be frozen for up to 2 months.
2. Berry Coconut Chia Pudding
Yields: 2-3 servings
Prep time: 5 minutes
Chill time: At least 2 hours (or overnight)
Ingredients:
- 6 tablespoons chia seeds
- 2 cups full-fat canned coconut milk
- 1 cup mixed berries (fresh or frozen, plus extra for topping)
- 1 teaspoon vanilla extract
- 2-3 tablespoons maple syrup (or to taste)
- Optional toppings: gluten-free granola, shredded coconut
Instructions:
- In a medium bowl or jar, whisk together the chia seeds, coconut milk, vanilla extract, and maple syrup.
- Gently stir in the mixed berries.
- Cover the bowl or seal the jar and refrigerate for at least 2 hours, or preferably overnight, to allow the chia seeds to absorb the liquid and create a pudding-like consistency.
- Before serving, stir the chia pudding well.
- Divide the pudding among serving bowls or glasses.
- Top with extra fresh berries and optional gluten-free granola or shredded coconut.
Storage: Store in an airtight container in the refrigerator for up to 5 days.
3. Banana Ice Cream (Nice Cream)
Yields: 2 servings
Prep time: 5 minutes
Ingredients:
- 3-4 frozen ripe bananas, broken into chunks
- 1-2 tablespoons dairy-free almond or oat milk (optional, for smoother blending)
- 1/2 teaspoon cinnamon or 1 tablespoon cocoa powder (optional, for flavor)
- Optional toppings: frozen strawberries, sunflower seed butter, dairy-free chocolate chips
Instructions:
- Place the frozen banana chunks into a high-speed blender or food processor.
- Blend until smooth and creamy, stopping to scrape down the sides as needed. This may take a few minutes.
- If the mixture is too thick, add 1 tablespoon of dairy-free milk at a time until the desired consistency is reached.
- If using, add cinnamon or cocoa powder and blend until incorporated.
- Serve immediately for a soft-serve consistency.
- For a firmer consistency, transfer the nice cream to a freezer-safe container and freeze for 30-60 minutes.
Storage: Store in a freezer-safe container for up to 1 month. Let it sit at room temperature for a few minutes to soften before serving.
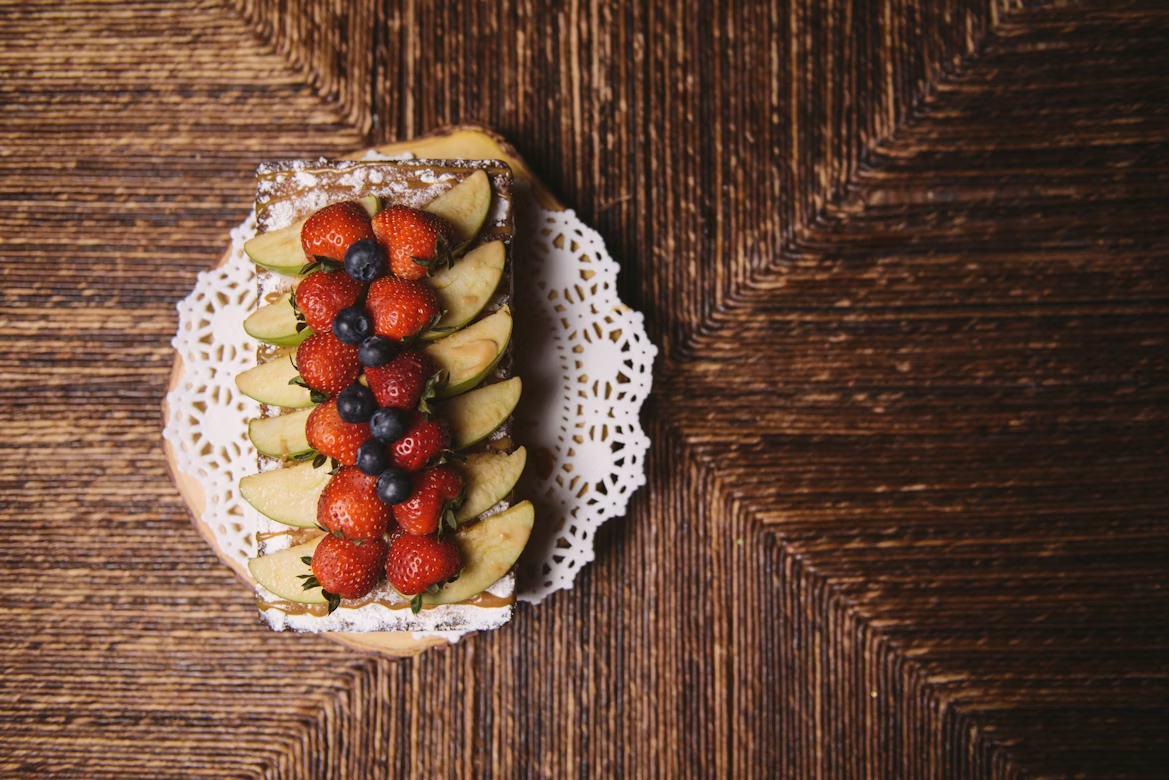
4. Crispy Apple Nachos
Yields: 2-4 servings
Prep time: 10 minutes
Ingredients:
- 2-3 large apples (such as Fuji, Honeycrisp, or Gala), cored and thinly sliced
- 1/4 cup date caramel (store-bought or homemade – soak pitted dates in hot water, then blend with a little of the soaking water until smooth)
- 2 tablespoons unsweetened coconut flakes
- 2 tablespoons hemp seeds
Instructions:
- Arrange the sliced apples on a plate in a single layer, overlapping slightly to resemble nachos.
- Drizzle the date caramel evenly over the apple slices.
- Sprinkle the coconut flakes and hemp seeds over the top.
- Serve immediately to prevent the apples from browning.
Storage: Best enjoyed immediately. Leftovers can be stored in an airtight container in the refrigerator, but the apples may soften and brown.
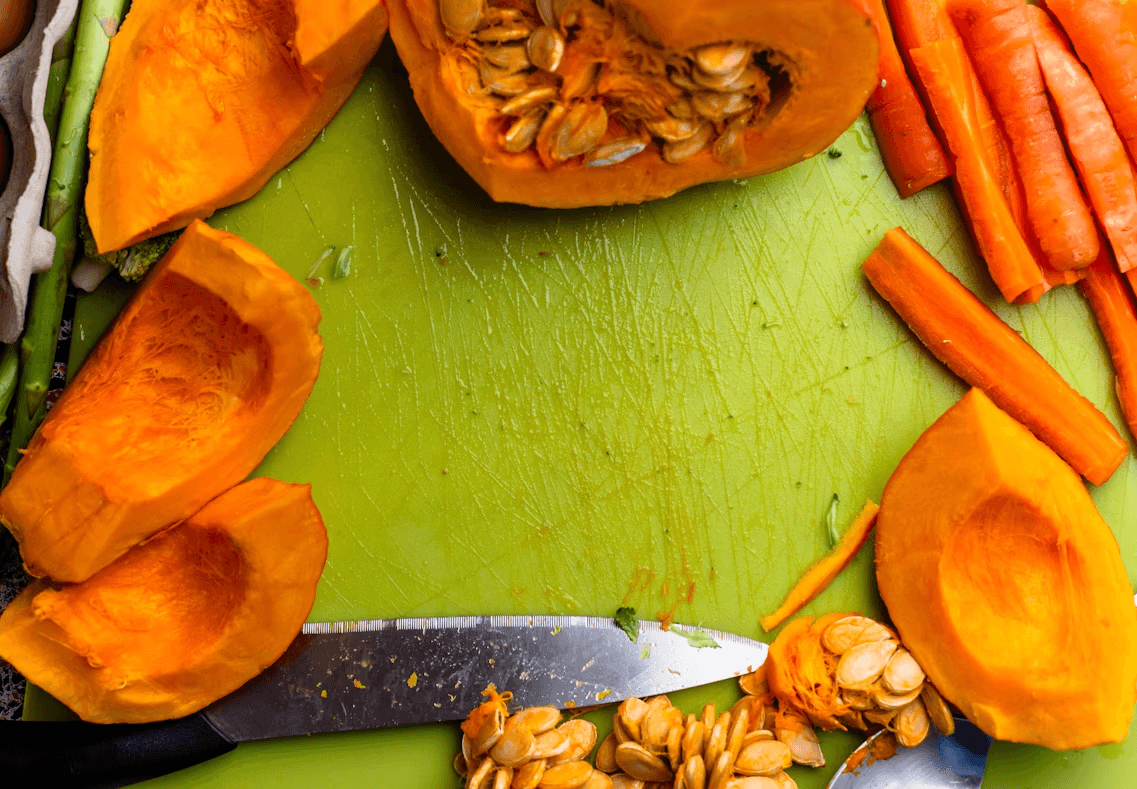
5. Pumpkin Spice Energy Bites
Yields: Approximately 12-15 bites
Prep time: 10 minutes
No cook time
Ingredients:
- 1/2 cup pumpkin purée
- 1 cup gluten-free rolled oats
- 1/4 cup flaxseed meal
- 1/4 cup maple syrup
- 1 teaspoon cinnamon
- 1/2 teaspoon nutmeg
Instructions:
- In a medium bowl, combine the pumpkin purée, gluten-free oats, flaxseed meal, maple syrup, cinnamon, and nutmeg.
- Stir well until all ingredients are thoroughly mixed. The mixture should be slightly sticky.
- Roll the mixture into bite-sized balls, about 1 inch in diameter.
- Place the energy bites in an airtight container.
- Refrigerate for at least 30 minutes to allow them to firm up.
Storage: Store in the refrigerator for up to one week.
6. Frozen Yogurt Berry Bark (Dairy-Free)
A crunchy, creamy, fruity treat straight from the freezer.
Yields: Varies depending on pan size
Prep time: 15 minutes
Freeze time: 2-3 hours
Ingredients:
- 2 cups dairy-free coconut yogurt
- 1 cup mixed berries (such as blueberries, raspberries, sliced strawberries)
- 1/4 cup crushed gluten-free cereal or granola
Instructions:
- Line a baking sheet with parchment paper.
- Spread the coconut yogurt evenly over the parchment paper in a thin layer, about 1/4 inch thick.
- Sprinkle the mixed berries and crushed gluten-free cereal or granola evenly over the yogurt.
- Carefully transfer the baking sheet to the freezer.
- Freeze for at least 2-3 hours, or until the bark is solid.
- Once frozen, remove the bark from the freezer and break it into shards.
Storage: Store the frozen yogurt bark shards in an airtight container in the freezer for up to one month.
7. Avocado Chocolate Mousse
Don’t knock it till you’ve tried it. Silky, rich, and secretly healthy.
Yields: 2-3 servings
Prep time: 10 minutes
Chill time: 30 minutes
Ingredients:
- 2 ripe avocados, pitted and scooped out
- 1/4 cup unsweetened cocoa powder
- 1/4 cup maple syrup (adjust to taste)
- 1 teaspoon vanilla extract
- Pinch of sea salt
- 2-4 tablespoons dairy-free milk (almond, oat, etc.), if needed for desired consistency
- Optional toppings: shaved coconut, cacao nibs
Instructions:
- Combine the avocado flesh, cocoa powder, maple syrup, vanilla extract, and sea salt in a food processor or high-speed blender.
- Blend until completely smooth and creamy. If the mixture is too thick, add dairy-free milk one tablespoon at a time until the desired consistency is reached.
- Taste and adjust sweetness if needed.
- Spoon the mousse into individual serving dishes.
- Chill in the refrigerator for at least 30 minutes before serving.
- Garnish with shaved coconut or cacao nibs, if desired.
Storage: Store covered in the refrigerator for up to 2 days.
8. Coconut Macaroons
Crispy edges, chewy centers—classic and simple.
Yields: Approximately 12-15 macaroons
Prep time: 15 minutes
Cook time: 15-20 minutes
Ingredients:
- 3 cups unsweetened shredded coconut
- 1/2 cup aquafaba (liquid from a can of chickpeas), at room temperature
- 1/4 cup maple syrup
- 1 teaspoon vanilla extract
- Pinch of salt
Instructions:
- Preheat oven to 325°F (160°C). Line a baking sheet with parchment paper.
- In a large bowl, combine the shredded coconut and salt.
- In a separate clean bowl, whisk the aquafaba with an electric mixer on medium-high speed until stiff peaks form (this may take 5-7 minutes).
- Gradually whisk in the maple syrup and vanilla extract until just combined. Do not overmix.
- Gently fold the shredded coconut mixture into the aquafaba mixture until just combined.
- Drop rounded tablespoons of the mixture onto the prepared baking sheet, about 1 inch apart.
- Bake for 15-20 minutes, or until the edges are golden brown.
- Let the macaroons cool on the baking sheet for a few minutes before transferring them to a wire rack to cool completely.
Storage: Store in an airtight container at room temperature for up to 3 days or in the refrigerator for up to 1 week
9. Sweet Potato Brownies
Fudgy, nutrient-dense brownies no one will believe are allergy-safe.
Yields: 9-12 brownies
Prep time: 15 minutes
Cook time: 25-30 minutes
Ingredients:
- 1 cup mashed cooked sweet potato (cooled)
- 1/2 cup unsweetened cocoa powder
- 1/4 cup coconut flour
- 1/4 cup maple syrup
- 1/4 cup dairy-free milk (almond, oat, etc.)
- 1 teaspoon baking soda
- 1 tablespoon ground flaxseed + 3 tablespoons water (flax egg)
- 1 teaspoon vanilla extract
- Pinch of salt
- Optional: dairy-free chocolate chips for topping
Instructions:
- Preheat oven to 350°F (175°C). Grease and lightly flour an 8×8 inch baking pan (or similar size).
- Prepare the flax egg by combining the ground flaxseed and water in a small bowl and letting it sit for 5-10 minutes to thicken.
- In a large bowl, whisk together the mashed sweet potato, cocoa powder, coconut flour, maple syrup, dairy-free milk, flax egg, vanilla extract, baking soda, and salt until well combined and smooth.
- Pour the batter into the prepared baking pan and spread evenly.
- If desired, sprinkle dairy-free chocolate chips over the top.
- Bake for 25-30 minutes, or until a toothpick inserted into the center comes out with moist crumbs attached.
- Let the brownies cool completely in the pan before cutting into squares.
Storage: Store in an airtight container at room temperature for up to 3 days or in the refrigerator for up to 1 week. These also freeze well for up to 3 months.
10. Crispy Quinoa Clusters
Crunchy, lightly sweet snackable clusters.
Yields: Approximately 15-20 clusters
Prep time: 10 minutes
No cook time
Ingredients:
- 2 cups cooked quinoa, cooled
- 1/2 cup sunflower seed butter
- 1/4 cup coconut sugar
- 1 teaspoon vanilla extract
- 1/4 teaspoon sea salt
Instructions:
- Spread the cooked quinoa on a baking sheet and toast in a preheated oven at 350°F (175°C) for 10-15 minutes, stirring occasionally, until slightly crispy. Let cool slightly. (Alternatively, you can toast the quinoa in a dry skillet over medium heat until lightly browned and crispy, stirring frequently).
- In a medium bowl, combine the toasted quinoa, sunflower seed butter, coconut sugar, vanilla extract, and sea salt.
- Stir well until all ingredients are evenly coated.
- Drop spoonfuls of the mixture onto a parchment-lined baking sheet to form clusters.
- Refrigerate for at least 30 minutes to allow the clusters to firm up.
Storage: Store in a sealed jar or airtight container at room temperature for up to one week for maximum crunch.
A Few Smart Tips for Substitutions
- No soy sauce? Try coconut aminos—it’s soy-free, gluten-free, and full of umami.
- No almond milk? Use oat, rice, or hemp milk depending on your family’s allergies.
- Avoiding eggs? Flax or chia “eggs” (1 tbsp seed + 3 tbsp water) work wonders.
- No nuts at all? Sunflower or pumpkin seed butter makes a safe swap.
Storing Allergy-Friendly Treats
One of the perks of these recipes? They’re built for batch cooking and stress-free storage.
- Use glass containers to avoid plastic contamination.
- Most treats freeze well—store in portion-sized batches.
- Chia puddings and energy bites last up to a week in the fridge.
- Avoid storing anything with fresh fruit at room temp for more than 24 hours.
Final Thoughts
Whether you’re navigating food allergies or just eating cleaner, these treats can be game-changers. They’re built to nourish, satisfy, and make you feel good—not just because they’re free from common allergens, but because they’re full of flavor and love.
If you’re looking to simplify your weekly snacks while boosting your family’s nutrition, these top 10 picks are a great place to start. And hey, maybe even your gluten-loving neighbor will ask for the recipe.
FAQ: Allergy-Free Treat Questions, Answered:
Is almond milk okay for dairy-free diets?
Yes! Almond milk is a plant-based beverage made from almonds and water. It contains no lactose, which is the sugar found in dairy milk, making it a suitable and popular choice for individuals following dairy-free diets. When purchasing almond milk, it’s advisable to check the label to ensure it is unsweetened and specifically states that it is soy-free, especially if you have multiple allergies or sensitivities.
What can I use instead of soy sauce?
Coconut aminos is a fantastic, soy-free alternative to soy sauce. It is made from the fermented sap of coconut palm trees and offers a similar salty and slightly sweet umami flavor that can enhance a variety of dishes. This makes it an excellent substitute for individuals avoiding soy due to allergies or dietary preferences.
Can I use eggs in these recipes?
You can incorporate eggs into some of these recipes if you do not have an egg allergy or are not following a vegan diet. However, the majority of these treats are intentionally designed to be egg-free, utilizing ingredients like flax eggs (a mixture of ground flaxseed and water) or aquafaba (the liquid from canned chickpeas) as binders or leavening agents to maintain their vegan and allergy-safe status.
How do I know it’s truly allergy-safe?
Ensuring a treat is truly allergy-safe involves several important steps. Always carefully read the ingredient labels of all products used to identify any potential allergens. Be vigilant for cross-contamination warnings, which are often indicated by phrases like “processed in a facility that also processes…” This alerts you to the risk of trace amounts of allergens. If you are preparing treats for someone with severe allergies, it is also crucial to use clean utensils and preparation surfaces to minimize the risk of cross-contact.
Are these treats kid-approved?
Absolutely! Many of these allergy-friendly treats have been tested and enjoyed by children, even those who can be quite selective eaters. The recipes are designed to be flavorful and appealing to a wide range of palates, aiming to pass the ultimate test of whether a child asks for more.